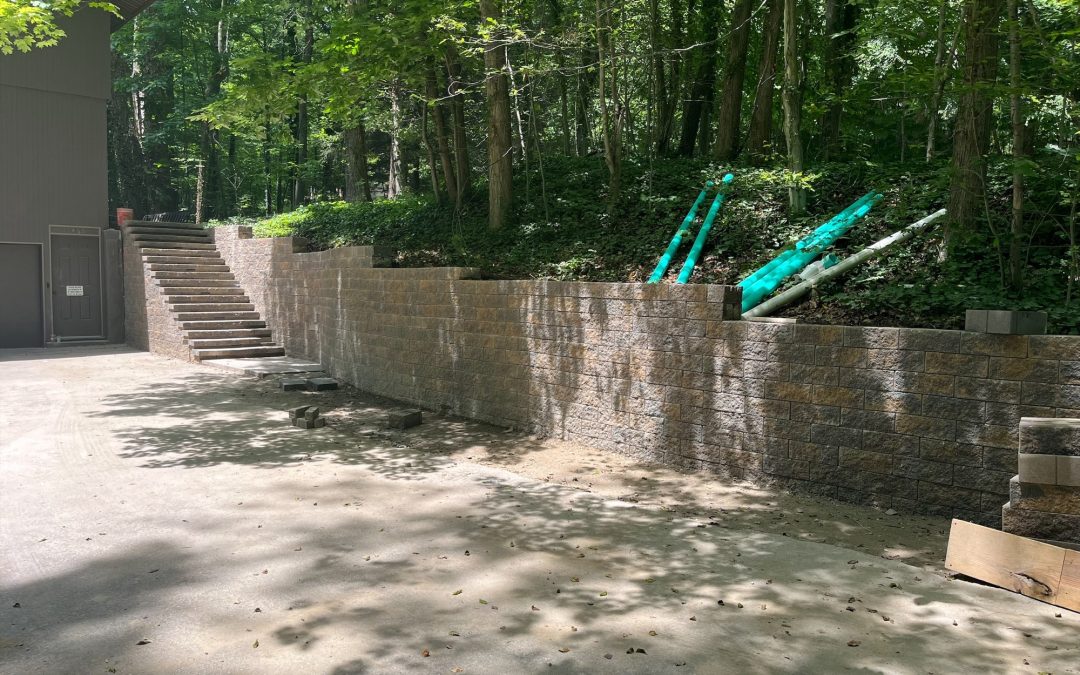

Ever thought about how retaining walls can change your landscape and keep soil in place? They’re great for making your garden look better and stopping erosion. Building your own retaining walls is both useful and fun. We’ll cover the basics of building retaining walls, why they’re important, and how to start your project. With our easy steps, you’ll not only make a useful wall but also gain skills for future projects.
Key Takeaways
- Retaining walls are key for keeping soil in place and stopping erosion.
- Building your own retaining wall can boost your landscape’s look and appeal.
- A step-by-step guide is vital for a successful DIY retaining wall project.
- Picking the right materials and tools is crucial for a lasting wall.
- Good planning and safety gear are essential for a safe build.
Understanding Retaining Walls and Their Importance
Retaining walls are key structures that keep soil in place. They let us make beautiful landscapes and stop erosion. These walls are vital in landscape design, offering both looks and function. Let’s dive into what retaining walls are, their benefits, and how they fit into garden design.
What Are Retaining Walls?
Retaining walls support soil on different levels, especially on slopes or uneven ground. They can be made from concrete, stone, or timber, and are customized for our landscape needs. Their main job is to hold back soil and manage water runoff, keeping our outdoor areas stable.
Key Benefits of Retaining Walls
- They stop soil erosion, keeping our gardens safe from natural damage.
- They make more land available, letting us use sloped or uneven areas better.
- They look great, adding to our landscape’s beauty.
- They help with drainage, keeping water away from buildings and preventing damage.
Applications in Landscape Design and Erosion Control
In landscape design, retaining walls have many uses, like terraced gardens or raised beds. They’re versatile, making our yards look stunning. They’re also key in controlling erosion by stabilizing slopes and managing water. Used as borders for paths, patios, or garden walls, they boost our outdoor spaces’ functionality.
Essential Tools and Materials Needed for Construction
Starting our retaining wall project means getting ready first. We need the right tools and materials for success. This part covers the tools, materials, and safety gear we’ll use during construction.
Required Tools for Building Retaining Walls
We need various tools to build our retaining wall. Here are the key items we should have ready:
- Metal rake
- Shovel
- Level
- Rubber mallet
Each tool is crucial. The metal rake levels the ground, and the rubber mallet secures the wall blocks well. Using these tools right helps make the wall stable.
Choosing the Right Materials for Your Project
Picking top-quality materials is key for our retaining wall’s durability. Some top choices are:
- Interlocking retaining wall blocks
- Gravel for drainage
- Construction adhesive
The right materials make the wall look great and last longer. We should think about the climate and soil when picking materials for the best results.
Safety Equipment to Consider
Safety first is always important. To keep us safe while building, we suggest using:
- Gloves
- Eye protection
- Knee pads
Having the right safety gear lets us work with confidence and lowers injury risks.
Step-by-Step Process for Building Retaining Walls
Building a retaining wall needs careful planning and execution for it to last long and work well. We’ll take you through each step, from the first design to putting in the retaining wall blocks.
Planning and Designing Your Retaining Wall
First, we plan and design our retaining wall. We figure out the height and length needed based on the landscape. A detailed blueprint shows the wall’s layout and where it goes. It’s also key to check local building codes and rules to follow them.
Excavation and Preparation for the Base
Then, we start digging for the wall’s base. Dig a trench that’s as wide as the wall blocks and a foot deep. This makes the wall stable. We check the trench is level and adjust if needed for a solid base.
Laying the First Course and Securing Subsequent Layers
With the trench ready, we put in the retaining wall blocks. We start with the first course, making sure each block is level and set right. A level tool keeps things accurate.
After the first layer, we add more, checking they’re level. Putting blocks in a staggered pattern makes the wall stronger and helps with drainage. Adding landscape fabric and backfilling with soil or gravel improves drainage and the wall’s performance.
Conclusion
We’ve seen how retaining walls can change our outdoor spaces for the better. They help improve our landscapes and control erosion, keeping our properties safe over time.
This guide has given us the tools and confidence to start our own projects. By building retaining walls, we boost our landscapes’ look and keep the soil stable. This stops erosion from happening.
We suggest everyone to dive into this project with confidence. For top-notch materials and help, check out Kurtz Bros Landscape Supply. With their support, our projects will show our dedication to quality and caring for the environment.